Executive Summary
New puppy house training accident cleanup only works when you remove the waste, treat the full depth the urine reached (not just the visible stain), and dry completely so odor can’t re-activate with humidity or warmth. The definitive fix is fast blotting/extraction, surface-matched chemistry with proper dwell time, controlled moisture, and verified dry-down.
3 Core Insights
- Depth Beats Appearance: If odor or staining returns after drying, contamination is still embedded in carpet pad, grout pores, wood seams, or concrete—not on the surface.
- Process Controls Outcome: Correct dwell time, minimal effective moisture, rinse-recovery, and full drying are the metrics that prevent wicking, mildew risk, and repeat marking.
- Match Method to Material: pH-neutral and low-moisture for sealed wood, agitation for grout lines, deep extraction for carpet/pad, and longer dwell time (sometimes repeat treatments) for porous concrete.
New puppy house training accident cleanup is the step-by-step process of removing urine or stool, lifting the stain, and neutralizing odor at the source so the spot does not re-attract repeat accidents. The proven method starts with fast containment on the exact surface type. On sealed hardwood in many local homes, blot immediately, then clean with a pH-neutral solution to avoid dulling the finish. On carpet over padding, extract from the top down, then treat deeply so urine trapped in the pad does not wick back up. On tile and grout, scrub the grout lines because liquid pools in micro-pores and can keep smelling after the tile looks clean. On concrete in basements or garages, plan for longer dwell time since porous slabs absorb odor and can release it again when humidity rises. A correct cleanup also uses measured contact time, controlled moisture, and full drying, which prevents mildew and helps stop repeat marking in the same corner, doorway, or rug edge.
Why puppy accidents keep “coming back” (and what the nose is detecting)
Puppy odor problems persist because urine salts and bacteria remain embedded below the visible stain line. If those residues are not chemically broken down and fully dried, the same spot can smell again—especially when humidity rises or the surface is warmed.
Fresh urine is mostly water plus urea; as it dries, it leaves behind uric acid crystals and other salts that cling to fibers, grout pores, and unfinished micro-cracks in concrete. When the area re-wets (mopping, humidity, steam from showers, rain-soaked shoes), those salts re-dissolve and release odor molecules again. This is why “it looked clean” is not the same as “it’s neutralized.”
- Reappearing stain = wicking from carpet pad/subfloor back up into face fibers.
- Lingering smell = residues still present below the surface or in porous material.
- Repeat marking = the dog is following odor cues that humans often can’t detect.
Immediate response checklist (first 10 minutes)
The fastest way to prevent permanent odor is to remove as much liquid as possible before it penetrates deeper layers. The goal is high extraction with low spreading.
Use this short sequence every time, regardless of surface, then follow the surface-specific steps below.
- Contain the area: keep the puppy away; place a towel over the spot to stop tracking.
- Blot—don’t scrub: press firmly with clean white towels; replace towels until they come up barely damp.
- Use controlled moisture: avoid over-wetting, which pushes urine deeper and enlarges the affected zone.
- Rinse strategically: only after initial blotting/extraction; plain water is useful for dilution, but it must be removed.
- Dry completely: fans and airflow are not optional—drying prevents mildew and stops odor re-release.
- Do not use steam on untreated urine: heat can set protein-based stains and drive odor deeper.
- Avoid vinegar on stone (travertine, marble) and avoid high-alkaline cleaners on many floor finishes.
Surface-by-surface cleanup protocols (San Diego homes: common materials)
Effective cleanup depends on the surface’s porosity and what lies beneath it (pad, grout, underlayment, slab). Match your method to the material so you remove residues at the depth they reached.
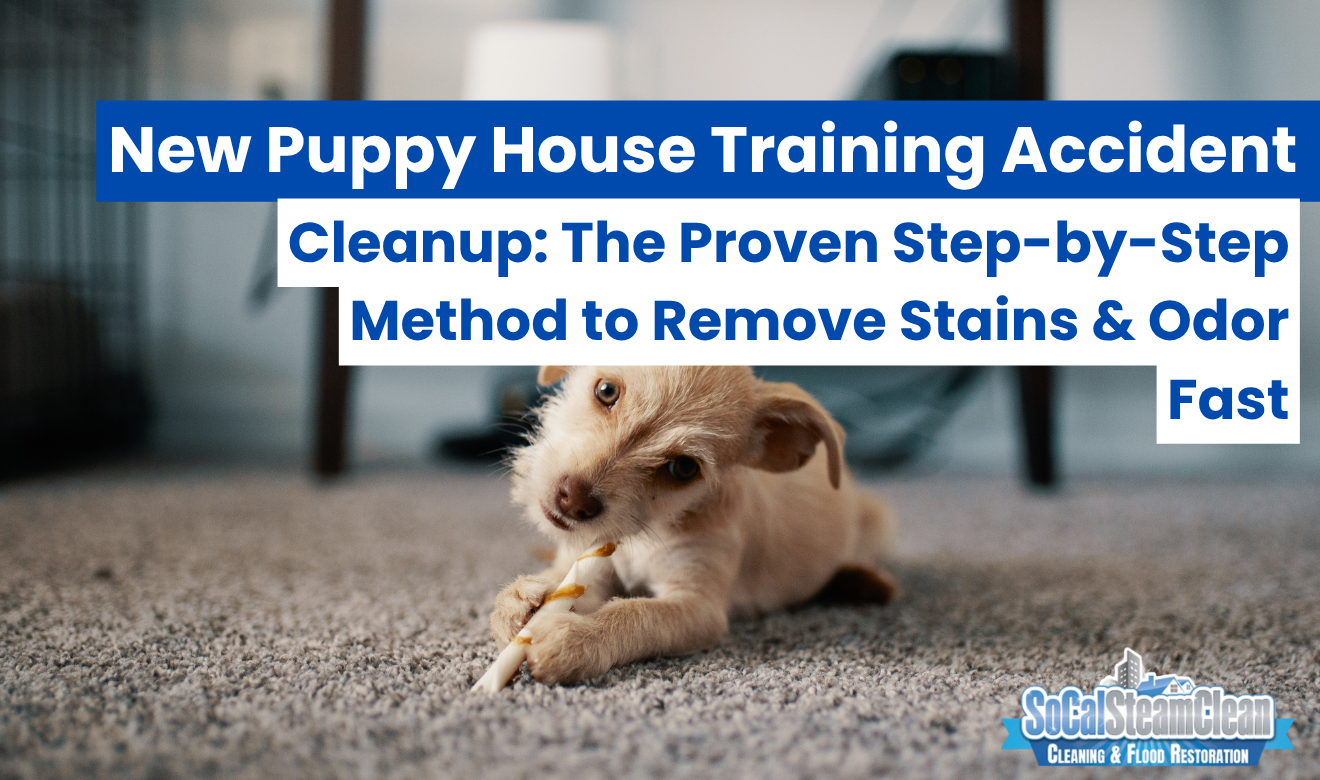
Carpet over padding (most odor problems start here)
Carpet accidents require extraction and deep treatment because urine often penetrates through the face yarn into the pad. If the pad stays contaminated, the stain and odor will wick back up after you think it’s gone.
Step-by-step:
- Blot/extract from the top: stand on folded towels to apply body-weight pressure; repeat until minimal transfer.
- Rinse-lightly, extract again: apply a small amount of clean water to dilute, then extract; keep water use controlled.
- Apply an enzyme-based urine treatment: follow label directions for dwell time; enzymes need time to work.
- Prevent wicking: place a dry towel with a light weight on top and replace once; do not keep re-wetting.
- Dry fast: aim a fan across the surface; in humid areas, use a dehumidifier to speed evaporation.
- When DIY won’t reach deep enough: if urine reached the pad/subfloor, professional hot water extraction and targeted urine treatment are typically required to fully flush and recover contamination. For deeper restorative cleaning, consider Carpet Cleaning in San Diego.
- Related context: carpets often need the correct method selection—see practical guidance in carpet cleaning tips in San Diego.
Sealed hardwood and engineered wood
Wood floors must be cleaned with minimal moisture and neutral chemistry to protect the finish. The priority is quick removal and safe neutralization so urine does not seep into seams and cause cupping or odor in the subfloor.
Step-by-step:
- Blot immediately: press towels firmly; do not let liquid sit.
- Clean with a pH-neutral floor cleaner: lightly mist onto a towel (not directly onto the floor) and wipe.
- Inspect seams and edges: if liquid likely entered gaps, dry with airflow at the perimeter.
- Dry to the touch, then keep air moving: wood that stays damp can swell; airflow reduces risk.
- Avoid: soaking, steam mops, bleach, and strong alkaline degreasers that can haze or dull finishes.
- Escalate if needed: persistent odor near seams can indicate seepage into underlayment—this may require targeted odor treatment beyond surface wiping.
Tile and grout
Tile may look clean while grout continues to smell because grout is porous and holds urine in micro-voids. The fix is mechanical agitation plus proper rinsing and drying of grout lines.
Step-by-step:
- Remove solids first: lift stool with paper towels; dispose in a sealed bag.
- Apply cleaner to grout lines: use a grout-safe cleaner; allow short dwell time per label.
- Scrub grout: use a nylon grout brush to agitate (abrasion is what releases residues).
- Rinse thoroughly: wipe with clean water and extract with towels so residues aren’t left behind.
- Dry: run a fan; keep the area ventilated until grout is fully dry.
- Avoid acid on natural stone: if you have stone tile, confirm chemical compatibility first.
Concrete slabs (basements, garages, patios)
Concrete is highly porous and can store odor for weeks if urine penetrates below the surface. A correct approach uses longer dwell time and may require repeated applications because the contamination is inside the slab pores.
Step-by-step:
- Blot and remove surface residue: start dry, then do a controlled rinse and recovery with towels.
- Use a urine-targeted oxidizer or enzyme product: follow label dwell times; don’t shortcut contact time.
- Keep it damp only as instructed: some products require moist dwell; avoid flooding the slab.
- Rinse and dry thoroughly: fans + dehumidification are key; odor can re-release when humidity rises.
- When sealing makes sense: if repeated accidents occurred in the same area, odor-locking primers/sealers may be required after decontamination and full dry-down.
What to use (and what to avoid) for stain + odor control
Urine cleanup works when chemistry matches the contamination and the surface. Enzymes break down organic residues; oxidizers can neutralize odor molecules; harsh disinfectants can create strong smells while failing to remove the source.
Best-practice options:
- Enzyme-based urine cleaners: effective for organic waste; require proper dwell time and must reach the full depth of contamination.
- Oxygen-based oxidizers (color-safe): can reduce staining and odor; always spot-test for colorfastness on textiles.
- pH-neutral floor cleaners: preferred for sealed wood and many finished surfaces.
Avoid or use with strict limits:
- Bleach (sodium hypochlorite): can discolor materials, irritate lungs, and does not reliably remove urine salts trapped in porous materials.
- Ammonia-based cleaners: ammonia-like odor can encourage re-marking and adds unnecessary respiratory irritation.
- Excess water: creates wicking in carpet and can push contamination into subfloors.
Core metrics that determine whether the cleanup “worked”
Successful cleanup is measurable: residue removal, correct dwell time, and full dry-down. If any of these fail, odor and staining can return.
| Feature / Metric | Specifications | Local Guidelines |
|---|---|---|
| Time-to-contain (fresh accident) | Blot/extract immediately; remove as much liquid as possible before applying chemistry | In coastal humidity zones, rapid blotting + airflow reduces odor rebound caused by moisture reactivation |
| Depth of treatment | Carpet face fiber + pad + potential subfloor; grout pores; slab pores | If odor returns after drying, assume deeper layer contamination and escalate to extraction or professional odor neutralization |
| Dwell/contact time | Follow label; enzymes and oxidizers require set contact time to work | Do not “spray and wipe” for urine; incomplete dwell is a top cause of repeat odor complaints |
| Moisture control | Use minimal effective liquid; always extract/rinse-recover; avoid oversaturation | Over-wetting in carpeted rooms increases drying time and risk of wicking, especially in shaded rooms with low airflow |
| Drying endpoint | Dry to the touch + continued airflow until no dampness remains in pad/grout edges | Use fans; consider dehumidification during marine layer conditions to prevent odor re-release |
How to confirm odor is neutralized (not just masked)
Verification should be done after the area is fully dry because odor can hide when surfaces are wet. A dry check prevents false confidence and reduces repeat accidents driven by residual scent.
Practical verification steps:
- Dry first: wait until the area is completely dry to the touch (carpet and pad take longer than the surface).
- Smell test at floor level: kneel down; odor is strongest near the source.
- Warm-air check: briefly warm the area with sunlight or normal room heating; odor that returns indicates embedded residues.
- Look for wicking rings: faint yellowing or a growing perimeter suggests pad contamination.
If odor persists after correct DIY treatment and full dry-down, the issue is typically depth (pad/subfloor, grout pores, slab absorption) rather than product choice alone.
When to call a professional (non-negotiable scenarios)
Some accidents exceed what household blotting and sprays can resolve, especially when contamination reaches padding, subfloors, or porous masonry. Professional extraction equipment and commercial-grade odor counteractants are designed to flush and recover residues rather than leave them behind.
Escalate to a pro if any of the following are true:
- Odor returns after drying (classic sign of deep contamination).
- Repeated accidents occurred in the same location (urine salts likely built up).
- Carpet pad feels stiff, crunchy, or stained from below.
- The affected area is near baseboards, door thresholds, or HVAC returns where odors spread.
- You are in a rental move-out situation and need documented, verifiable odor remediation.
Professional processes typically rely on extraction-based methods used in carpet cleaning to remove contaminants from fibers and backing, not just treat the surface.
Preventing repeat accidents after cleanup (odor + behavior alignment)
Stopping repeat incidents requires removing scent cues and tightening the house-training routine for the next 7–14 days. Once a puppy has identified a spot, even a faint residual odor can become a target.
Aftercare steps that reduce re-soiling:
- Block access temporarily: use a baby gate or closed door for the cleaned area until training stabilizes.
- Increase outdoor frequency: take the puppy out after naps, play, meals, and every 30–60 minutes during early stages.
- Use a consistent elimination station: same patch of grass or pad location improves habit formation.
- Clean adjacent edges: puppies often miss by inches; treat a slightly larger perimeter than the visible spot.
- Maintain dry floors: damp mop water can rehydrate residues and trigger odor rebound if contamination remains.
“Clean, dry, neutral” — the repeat-proof standard
The reliable standard for puppy accident remediation is simple: remove the waste, flush or break down residues at the depth they reached, then dry completely. When you follow this sequence by surface type, you prevent stain return, odor rebound, and repeat marking.
Use immediate blotting and extraction to stop penetration, choose chemistry that matches the material (pH-neutral for finished wood, grout-safe products for tile lines, deeper treatment for carpet pad and concrete), and always verify results after full drying. If a spot continues to smell or reappear, treat it as a depth problem—not a “more fragrance” problem—and step up to extraction or professional odor neutralization so the puppy doesn’t keep getting pulled back to the same corner, doorway, or rug edge.
Frequently Asked Questions
Stop Puppy Accident Odors at the Source—Before They Turn Into a Repeat (and a Bigger Repair Bill)
You can blot, spray, and “make it smell better” all day—but if urine has soaked into carpet pad, subfloor seams, grout pores, or concrete, it doesn’t just disappear. It waits. Then it reactivates with humidity, a mop, or warm air… and suddenly that “clean” spot smells again and your puppy is right back to marking the same corner.
Here’s the real risk of DIY’ing this the wrong way: over-wetting can spread contamination and cause wicking, heat can lock stains in, and harsh chemicals can damage finishes while still failing to neutralize uric salts below the surface. Translation: you’re not just fighting odor—you’re risking permanent discoloration, warped wood edges, lingering bacteria, and a cycle of repeat accidents that gets harder (and more expensive) to fix the longer it goes on.
So if the smell returns after drying, the stain keeps reappearing, or the accidents are happening in the same spot, don’t keep guessing. Get a proven, depth-correct approach that focuses on extraction, controlled moisture, proper dwell time, and complete dry-down—so the source is actually removed instead of temporarily masked.
Leave a Reply
You must be logged in to post a comment.